

The last piece I’ve done for my Japanese art class! For the next few months, my tutor Sugawara-sensei, is taking a break off teaching since he got a new job as cabin crew and needs full commitment during his training period. What a pity, but he will be back in a few months and before we know it classes will resume. When I’m taking classes, face-to-face rather than on-line, I prefer to work on projects that I am not able to do at home because I don’t have the supplies handy. The Nihonga watercolor paintings are one of them, and another is lino printing!
Preparation
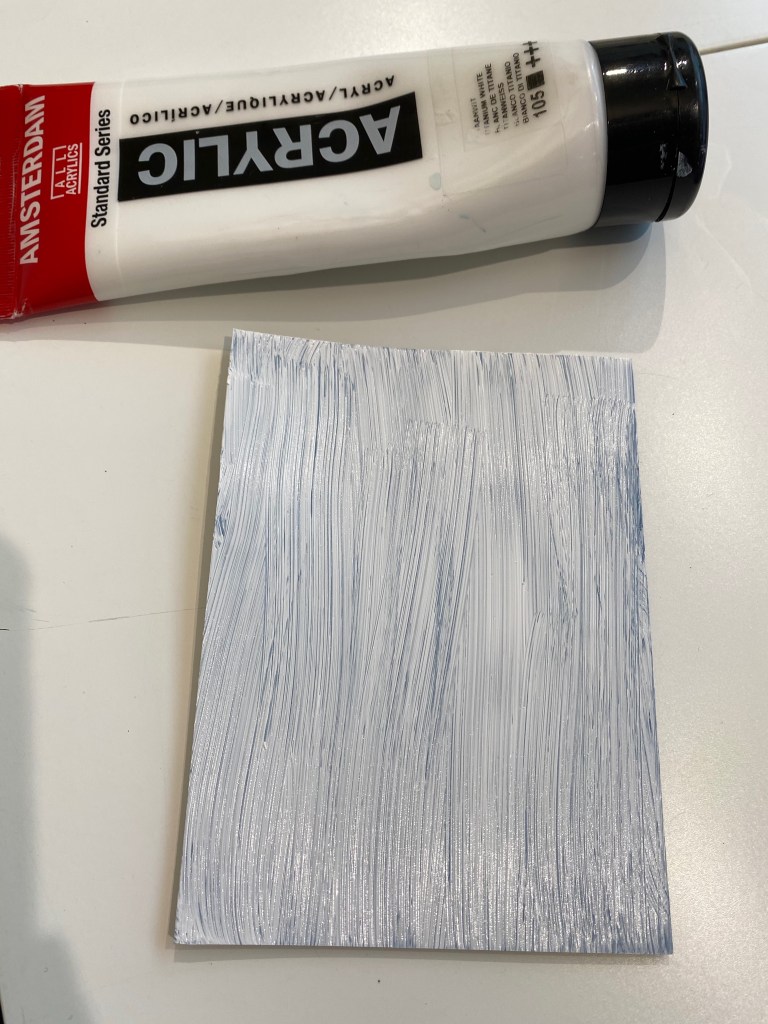
I was very much looking forward to this. The last time I did some lino printing was back in school when I was around 10. Always fun to retrace my past! Sugawara-sensei provided the lino, carving knives and ink as well as the special paper for this purpose. Before classes, I prepared a drawing of what I wanted to feature: Little One of course! The Lino was firstly covered with a thick layer of white acrylic ink in order to make the sketch more visible whilst carving.
The Image
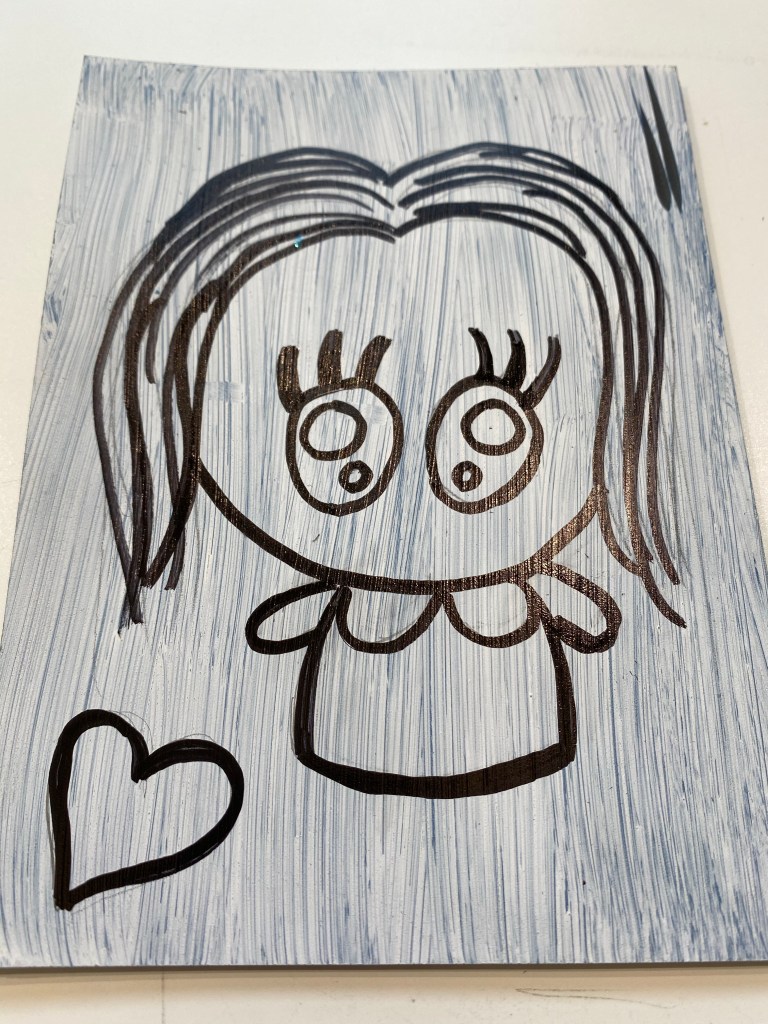
Once the paint was dry, the sketch was traced onto the lino using a sheet of carbon paper. Important to remember are two things: Firstly, the print will turn out the mirror image of what you had sketched and thus any letters or numbers need to be drawn on the lino in reverse. The second thing to consider whilst carving is that the image is negative, ie. any area that you carve will not have any ink on and will hence be blank. As such, I had to make the outlines thick to facilitate carving around it.
Carve Away!
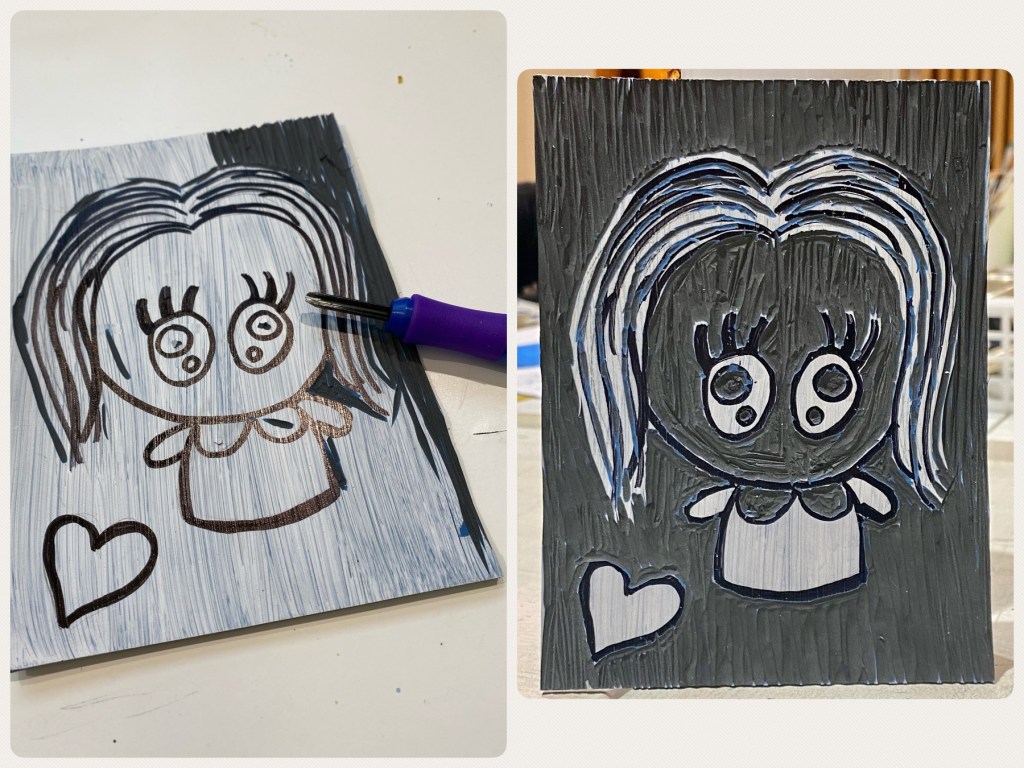
Once I was done tracing over the outline with a thick black marker, it was time to carve away! Memories of my school days came flooding back when we made lino prints during art class. This time, though, the lino was reasonably soft compared to the past which makes it much safer. The only thing you need to be careful is not to carve too hard or too deeply, or else you end up with a hole on the lino! As you can see below, the background was carved out whilst the outlines and areas I wanted colored were left alone, i.e., a negative process.
The Printing
And now the exciting part! I was ready to print. Here a special ink was used that resembled the consistency of acrylic paint but less sticky. This ink was firstly squeezed on a plastic tray, then a brayer rolled on before spreading on the lino. Once the ink is applied, we place the paper on top and rub with a bamboo plate all over to ensure even coverage. Carefully peel the paper off, et voilà! How cute did that turn out!
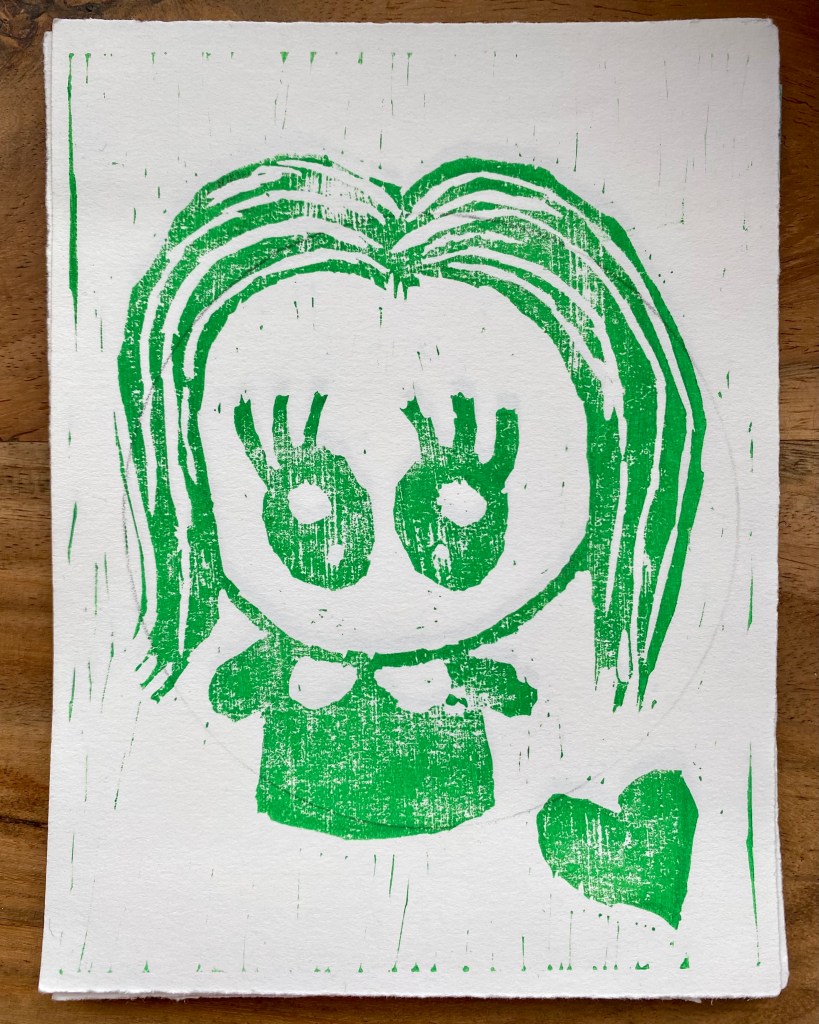
Now that was a fun project. Something different isn’t it? I’m very pleased how the print turned out. Although the white areas could have been carved out more, I quite like that some traces of the streaks are still visible. I’d love to try more lino printing at home, especially as I discovered that I have some lino sheets and carving tools at hand. All I need to buy is some special ink for this purpose. And the lino can be used over and over again too. Perhaps I’ll incorporate this into my mixed media work. How exciting that will be!
