

Still having fun with Tracy Verdugo’s Abstract Mojo classes and the other day enjoyed the next lesson called Nature Collage. Here we complied some mark-making tools pertaining to nature and created some nature-themed collage papers to produce another interesting abstract painting. Let’s see what I’ve done here!
The Collage Papers
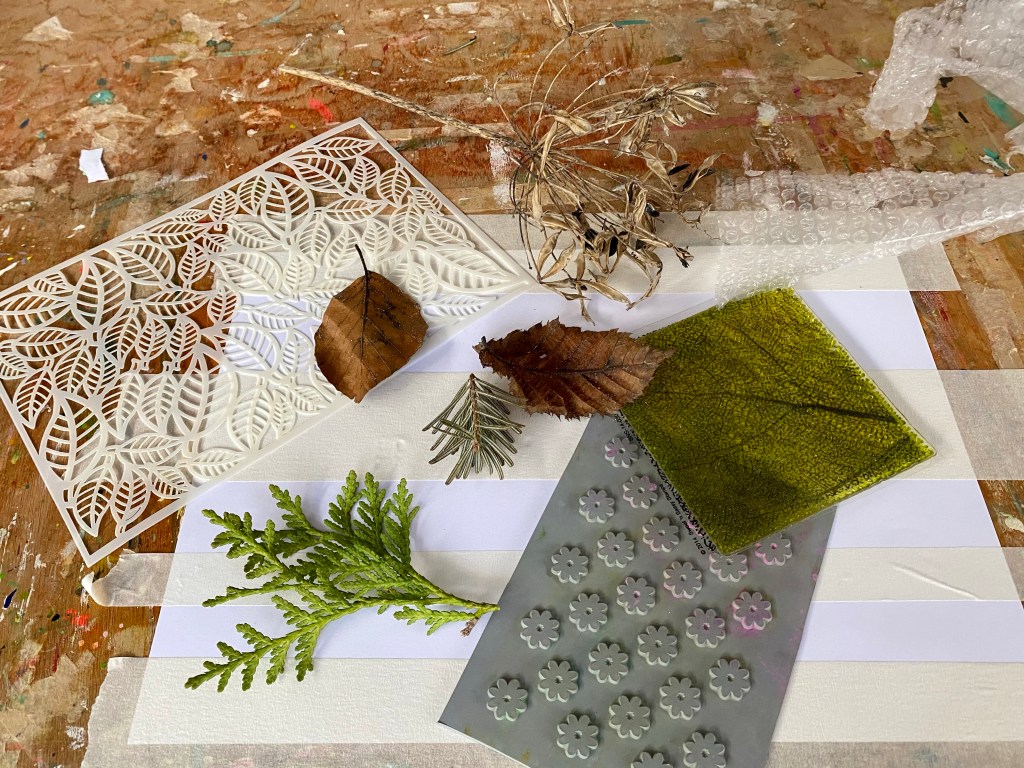
First we looked around for various mark-making objects at home and outdoors such as twigs, dried leaves and flowers from which we can paint with as brushes or make imprints. Other suggested tools included stencils and stamps relating to nature in forms of leaves and flowers as well.
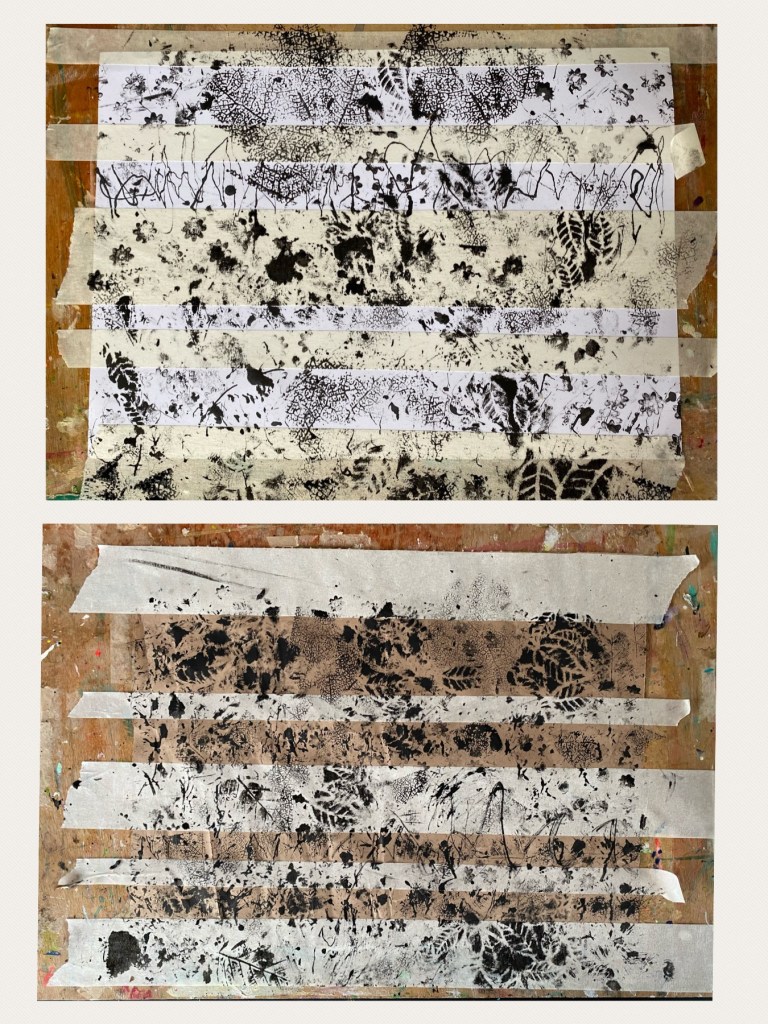
Some masking tapes in large and small strips were then placed across a piece of plain white cartridge paper. Using the different tools I had compiled earlier, I began randomly applying some black ink all over the paper: painting, splashing, stamping, stenciling and brushing. For this, I used a combination of Carbon Black fluid acrylic by Golden and Kuretake ZIG cartoonist Sumie ink. Both are permanent and water resistant. After I was done with the white paper, I repeated the process on some brown craft paper. Mine was some old packaging paper.
The Background
Setting the collage paper aside, it was time to work on the main painting! A piece of A3-sized watercolor paper (I used Canson’s) was taped by the sides to avoid warping. Then with acrylic inks in Antelope Brown (Daler & Rowney) and Quinacridone Pink (Sennelier) I set about swirling the two colors together with a big wide wet brush. It was not important what the painting would look like at this point as they will be mostly covered up with the collage later.

The Collage
And now comes the fun part! Now we can start applying the collage papers we had previously created. Strips were then torn off or cut out from both the white and brown papers and pasted on the pink and brown background in a linear form. In addition the painted masking tapes were also glued on although extra gel medium had to be used on top to make sure it adhered to the paper. And notice it’s not just the different colors but also the varying widths. In Tracy’s lessons, we are supposed to analyze the various sections and cut them up to form four mini paintings. I, however, loved what I already created so much that I decided to keep the painting as it is!
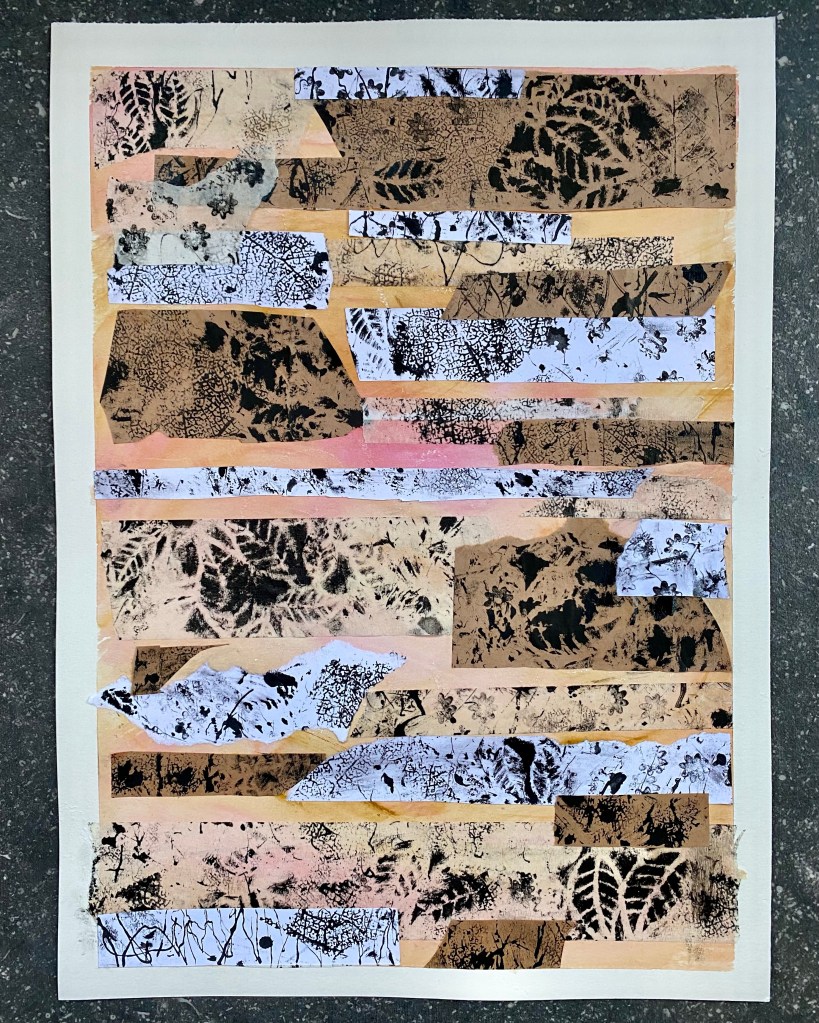
And once again, another inspiring class with Tracy! It’s always exciting to try something different. This idea of nature-themed mark-makimg could also be used in my future artwork as well. As I would also love to have more practice on collage art, this exercise gave me a better grasp of it. And here’s my nature collage!
Click here for more about Tracy Verdugo and her wonderful classes!
