

And the next of Lisa Bardot‘s mini tutorials! Recently I signed up for a Procreate digital art workshop in Algarve, Portugal with this lovely American illustrator in May. How exciting! And in preparation for it, she suggested we follow her 4-week tutorial, Kick Start with Procreate. And what useful tips did I pick up from that. Although she starts from the very basics, we quickly learn and cover areas that even I myself had never discovered earlier! And this one involves creating collages. Who would have known this was possible on Procreate!
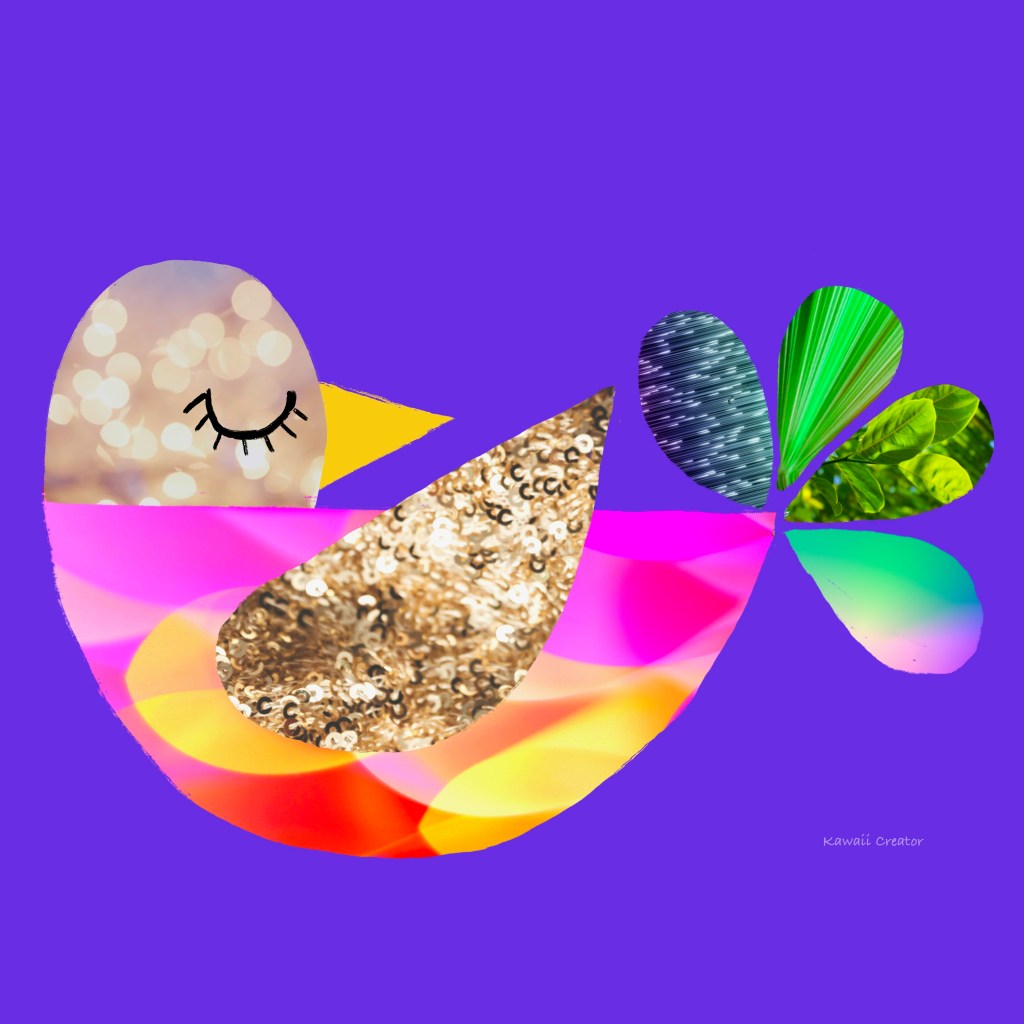
We firstly draw and paint the bird, starting with a group of simple shapes. Then we fill them in one by one, with a separate layer for the wing and head. It is not important which color we use since they will be covered by the collages. And how do we get hold of the collage “papers”? Through stock photos via Pexels or Unsplash which one can download for free. Lisa also had her collection which she shared, but I myself opted to search for my own. Another is that I went through my camera roll and looked for some nature and vacation photos I had taken depicting “cool patterns and textures”. So glad I made them now! Here is what I went for:
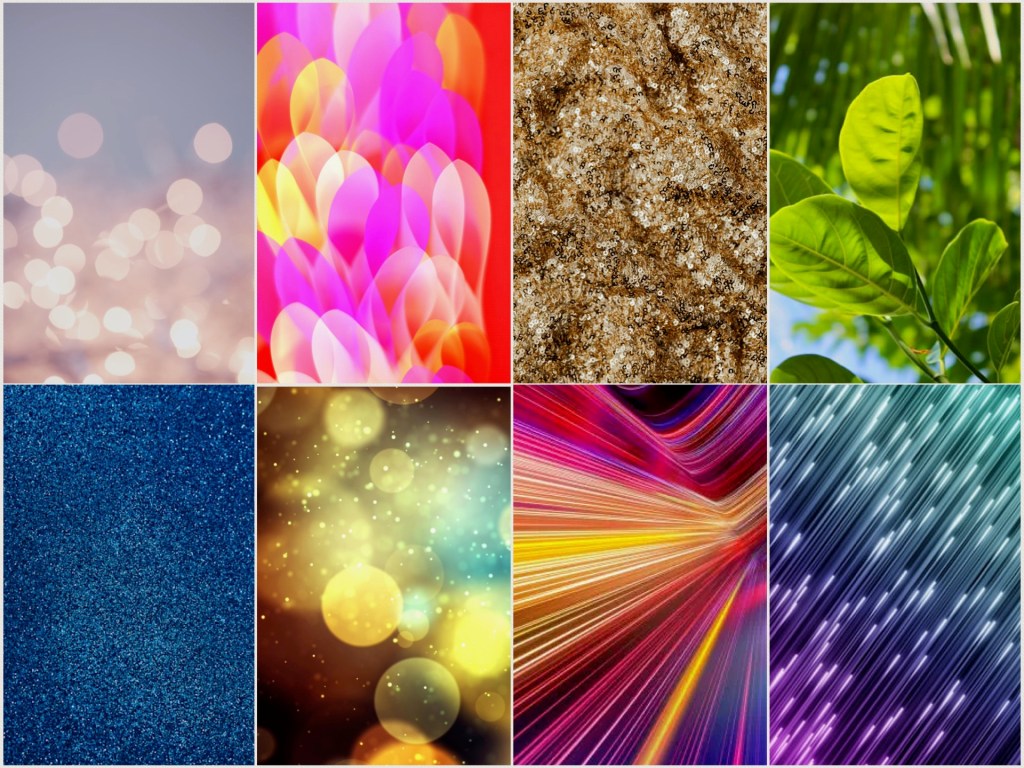
Yes, a lot bright vivid colors and shiny textures! Quite a wide variety. By working on each shape or part of the bird, a layer is added. The image is then imported from our files or in my case camera roll photos. Then by clicking on Clipping Mask for that new layer, the chosen image automatically fits into the shape and can be moved around or adjusted to size and even color to your liking. How amazing is that! And now, creating collages is definitely something I would repeat in my future artwork. Think of all the beautiful characters I can come up with, even the pretty dresses Little One would be wearing!

What a wonderfully creative idea! It looks like a real textured collage1
LikeLiked by 1 person
Thank you! I had so much fun with this one and certainly one of my favorite sessions with Procreate. Looks like I will be hooked with creating collages in my future digital artwork! 😉
LikeLike