

It’s Easter Monday today but I haven’t been on-line much let alone painting at all this weekend. Very busy. We got some new display cabinets off Marktplaats (Dutch equivalent of eBay) for my Hello Kitty collection, and my boyfriend was helping build it whilst I was decanting the plushies from the original cabinets which in turn will go to another room. Lots of moving around! Though far from finished with organizing my Kitties and putting them on display, I am taking a break now. I can finally sit down with a cup of tea and start writing about another Easter-themed painting I had made before this Operation Kitty began!
Gelli Printing
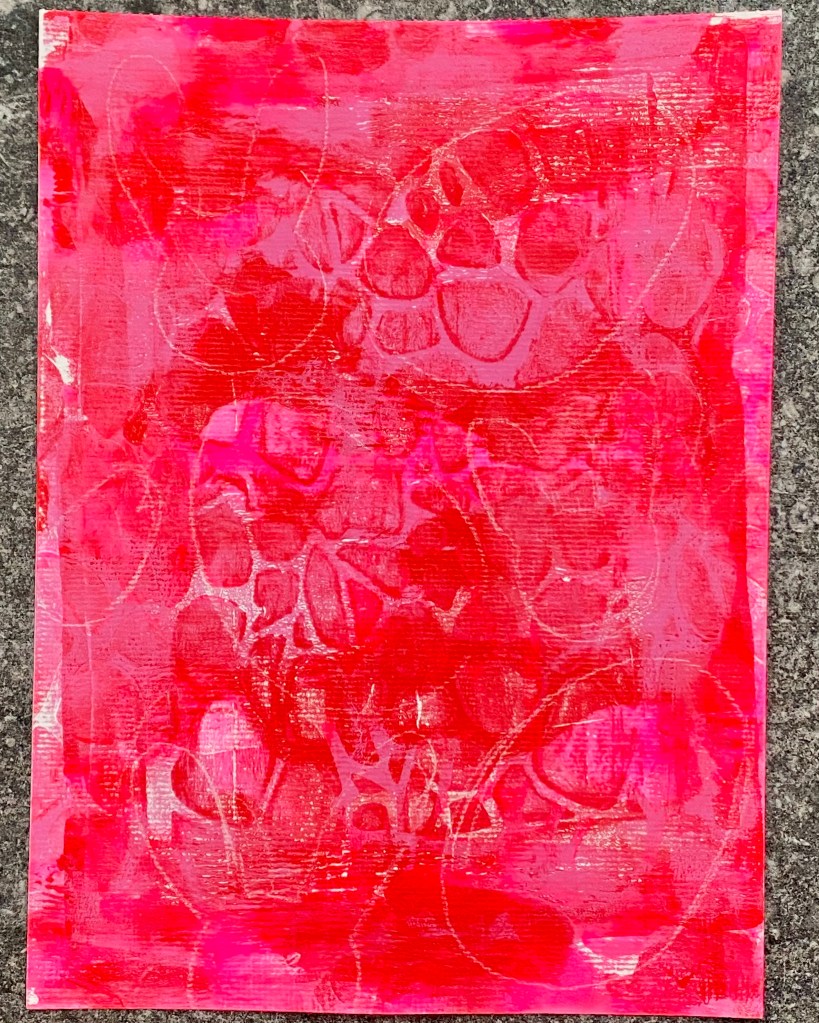
I haven’t done gelli printing in months! Not even sure when the last time was. One of those things that sit in your drawers waiting to be used again and not getting around to it. Finally the day came, and I took my large rectangular gelli plate and stencils, along with some napthol red, fluorescent pink and quinacridone pink acrylic paints all by Amsterdam Acrylic. As you can see, I’m a bit rusty at it. Firstly the rectangular print was crooked because I didn’t place the paper correctly. I then went over it with the brayer (from which the paint was spread) to cover up the mistake. Oops. That was not clever because now you cannot see the patterns from the stencil! Not to worry, it was just practice, and I forgive myself as it’s been quite some time. The positive side is that the color combination looks beautiful. If I had a dress that color, I would wear it!
Negative Space
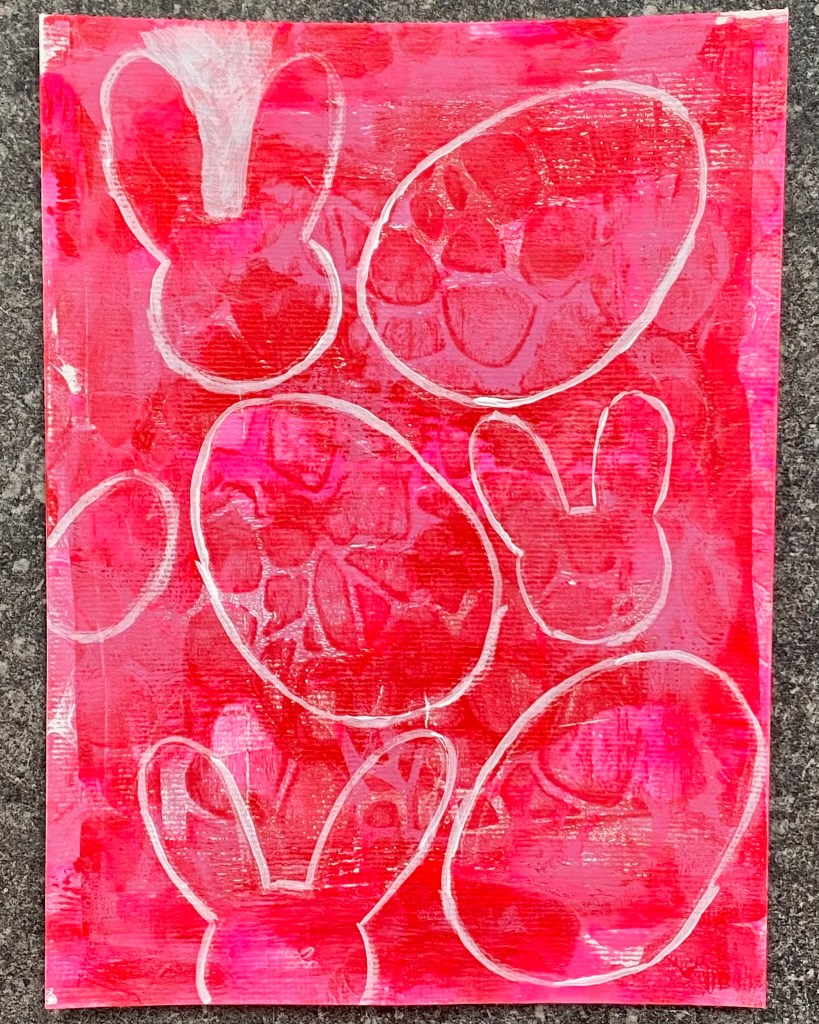
One way out of this situation of course was to create a collage paper with it as I had been doing. Unfortunately the paper is too thick so I abandoned the idea and went for a negative space painting instead. I had though managed to salvage a few pretty patterns from the stencil seen scattered around the paper. The color mix is also stunning, seeing how they blended together so beautifully with the brayer. After having figured out the areas I wanted to keep and those I preferred to hide, I went about my sketch firstly with some chalk pencil, followed by tracing the area with white Fluid Acrylic, then putting a small area to the test.
White Background
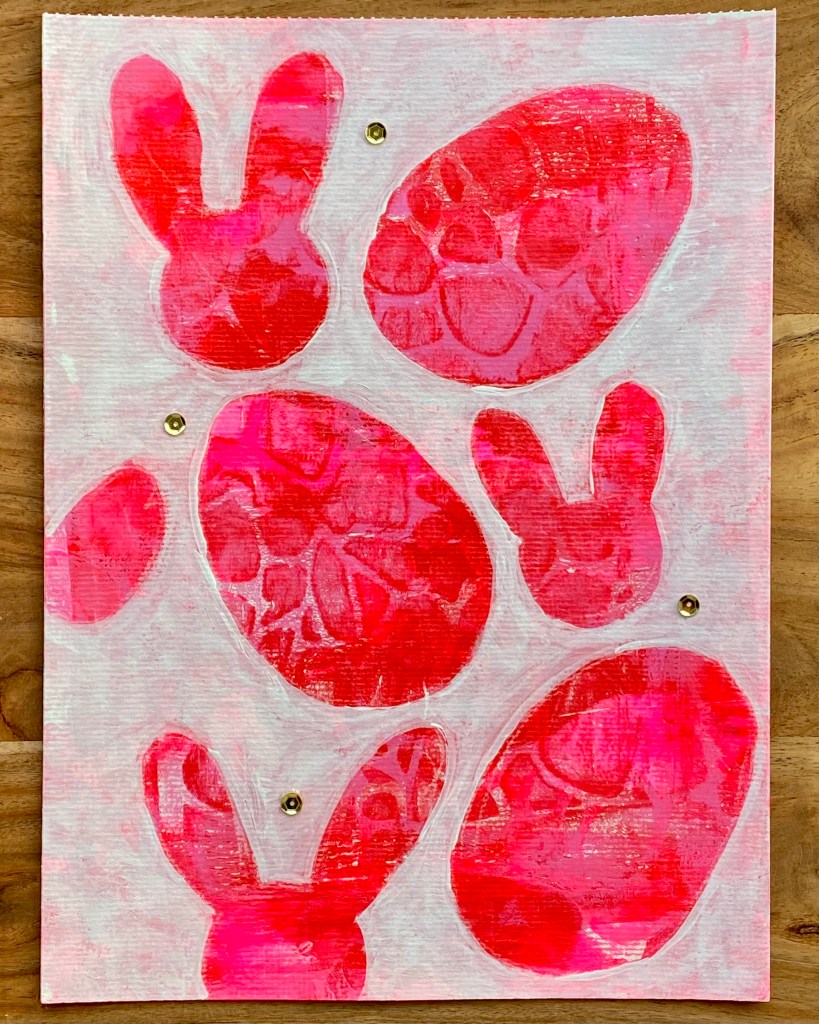
I went for Fluid Acrylic rather than paint because I wanted the colors underneath to shine through subtly. Paint would be too opaque, and diluting it with lots of water would make the finish too murky. I just preferred a matte yet translucent look. Golden Fluid Acrylics work really well for this purpose. Although the strokes of the white paint are not quite even, It goes well with the “unpredictable” patterns from the gelli printing. I also decided not to add any details like bunny faces or decorations on the eggs because I wanted to emphasize the beautiful colors from the print. That said, a few gold sequins were glued on in the end to add some unity between the plain white background and the colorful red/pink combi. And here we are!
This time, another simple painting. However, that all started from a rather messy and almost disastrous start with the gelli prints. It was fun though, and that’s what counts! I should practice more often with gelli printing in order to improve. Glad I also found some time in my busy schedule to get creative and to even write about it here, especially in time for Easter. I hope you all had a good one despite these difficult times and are still staying safe!

1 Comment