

Seeing that it’s now the Easter Weekend, I was saving this Rabbit-themed piece I did a week or so ago to share here. It’s a fun mixed media painting I did using leftover paint again from another piece I had been working on. And another practice with negative space to create something cute!
Colour Palette
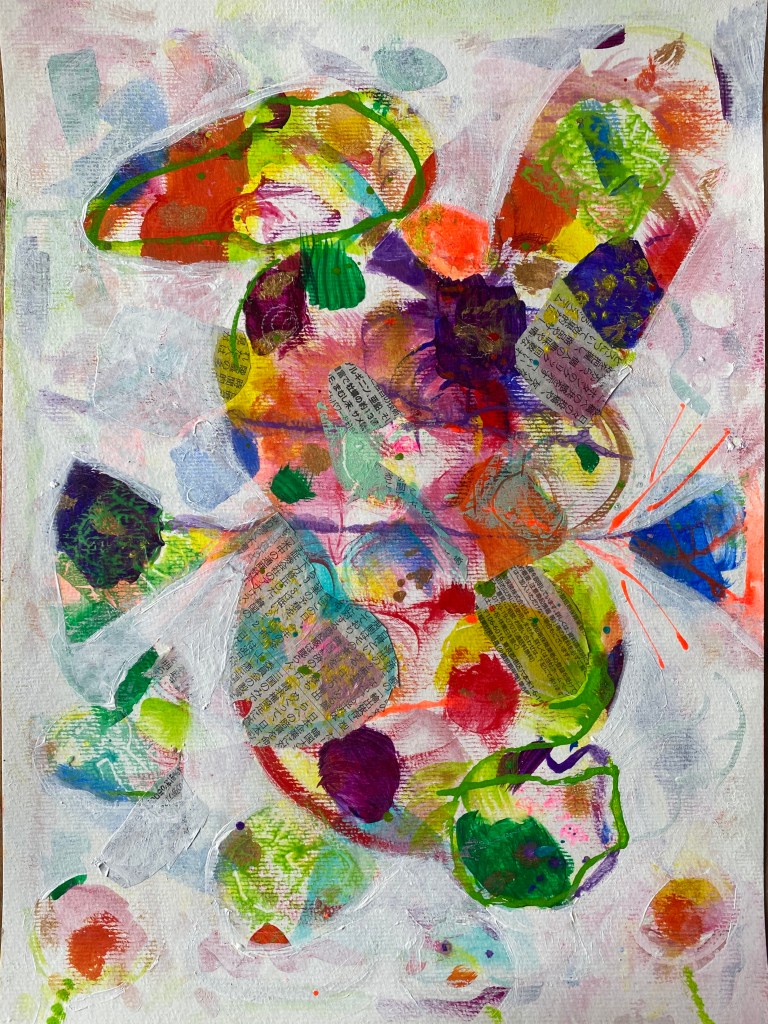
This painting actually originated as a “palette” to paint another piece, Double Rainbows. Golden acrylic fluids were used then in red, yellow, blue, green and magenta. It was a painting of a rainbow and hence I needed to mix some of the colours to create some others. Rather than a proper palette, I actually used some A3-sized Mixed Media paper by Cansons for that purpose. The excess gold paint was also “dumped” there as well. That way, I could that “palette” and develop it into another painting!

Building on the Palette
I then began adding more paint on top! Mainly I used acrylic ink. Bits of Japanese-language newspaper were also glued on to add some character then further painted on. I also discovered I had some linoleum sheets I had been intending to use and finally got around to doing something with it! I cut out a small piece and began carving out a rabbit shape to make my own stamp. A bit of a trial and errror here, but I stamped some using paint and ink, For this new discovery, I would like to post a separate blog soon.

Creating Negative Space
It was my intention to create a negative space painting in the first place. But to what? And how to best figure it out? I’ve resisted negative space painting because I am always afraid that I’d paint my new background too much and regret it or realise I made a mistake. Then I came up with a bright idea. Make a draft digitally on your iPad or tablet! First take a photo of the painting and duplicate it. Then with the “mark up” from the Photo Editor, paint away and see!

As you figured out, I was able to see the shape of a bunny! I then transferred that idea on my painting by carefully copying it with a white chalk pencil. With a chalk you can easily rub out any mistakes of course. Some changes were made from the initial draft from which I added flowers on the bottom. Once I was ultimately happy with the outline, I began painting with titanium white acrylic paint to create the negative space for my bunny. Two coatings of it were applied.
More Details
I added more on the painting to make the bunny look more distinct. For instance, I worked on the eyes and made them gold this time. I made the sleeves of the arms fancier by doodling around it and played around with the “flowers” a bit. Even a scrap piece of origami paper was glued on the corner to create some balance in the painting. And now I’m happy with it!
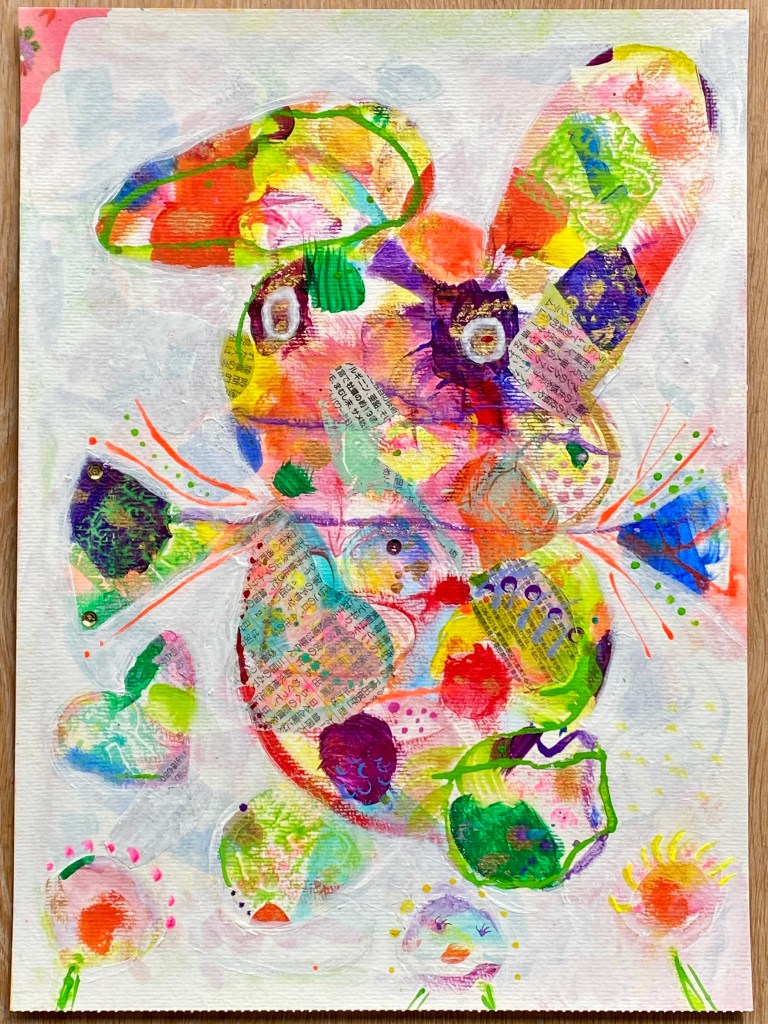
I’m starting to get the hang of negative space painting. At times, it’s difficult when I like the background and don’t want to cover areas up. Here though I already had the mind to do it as I was initially using the paper as a palette for another painting. It’s also about having the confidence to take the plunge and sacrifice a few areas to paint over. Then of course it’s a matter of having the eye to discover what is hidden and taking it on from there. All in all, it was a fun challenge and great timing with the rabbit. So hope you enjoy your Easter Weekend!
