

Eek, I’m a bit behind with my blogging as well as posting up my work on Instagram and FB. Well at least I’ve got a good excuse. Past two days I’ve been attending art classes and workshops for Nihonga watercolour painting. A week ago on Friday, I began learning about traditional Japanese watercolour as outlined in my blog from last week, Nihonga Japanese Watercolour: Preparation. I concluded the second phase of this first Nihonga painting yesterday.
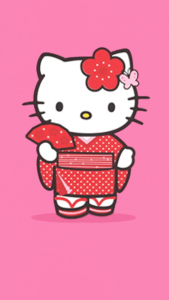
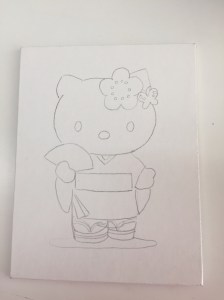
Normally, Nihonga paintings are about nature such as flowers or animals to depict seasons. Our instructor, Sugawara-sensei, though, said that we could draw what we liked and in my case, added even Hello Kitty because I am such a huge fan. So that’s exactly what I did! Once we found what we wanted to paint, we made a print out of it and carefully traced the figure on the paper with a carbon sheet.
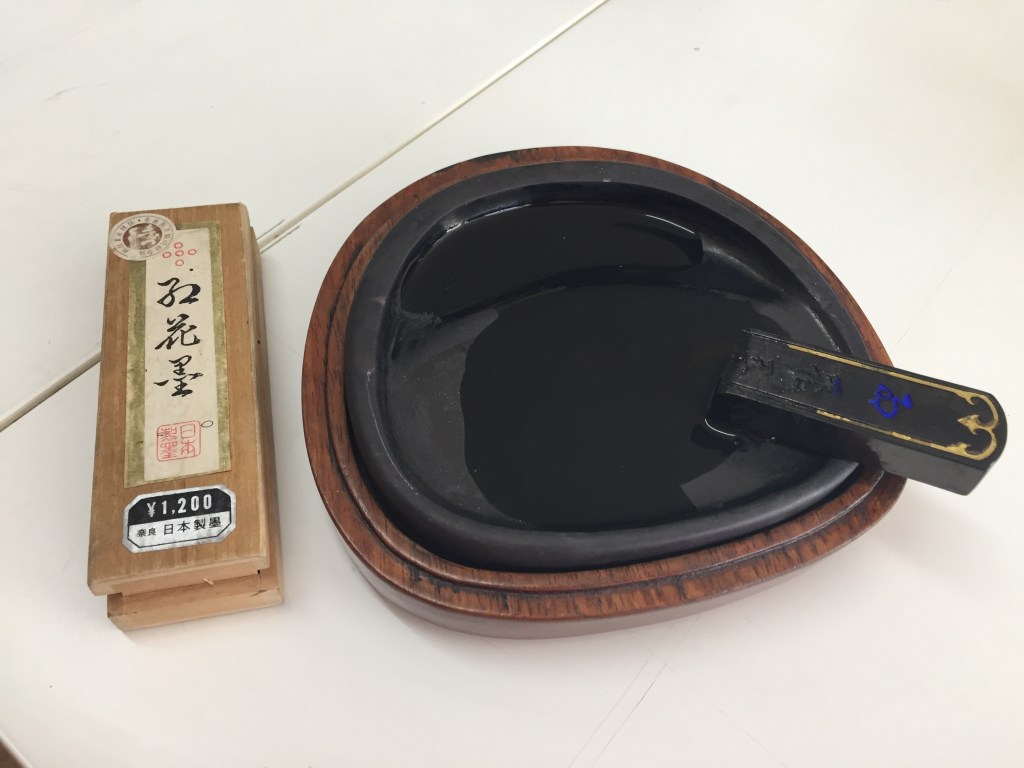
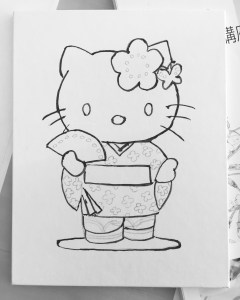
Then we in turn enhanced the outline with some black ink. Traditionally, this water-based ink is derived from charcoal known as sumie, typically seen in Far Eastern calligraphy. It comes with a caked ink stick made of charcoal, binding material like animal hide glue (gelatin) or egg white and preservatives from herbs such as clove or sandalwood. With it comes a tray in which you add a bit of water and rub the stick to extract the black pigment until, well, ink is produced.
With a brush, we carefully traced the outline with this sumie ink. Quite reminiscent of my primary school days when I had to spend Saturday mornings in calligraphy classes which Japanese children had to attend in addition to school. It’s kind of strange but cute to see Hello Kitty being drawn like that!
I chose this design of Hello Kitty (known as Kitty-chan in Japanese) because I wanted to have her look as traditionally Japanese as possible. And summery too. Dressed in yukata and waving a fan. I modified the yukata patterns a bit to make it look lively. Once the sumie dried, I was ready to start painting!

When mixing the paint, we add a bit of pigment powder in a small dish, a few drops of binding material like gelatine and blend with our finger till we get a syrupy consistency. We then add a few drops of water and again combine it all with our finger. As every pigment colour is pure and natural, each vary in mineral texture and content so it is unfeasible to mix the colours like you would do with conventional paints. It is therefore not unusual to see Nihonga artists to have hundreds of different shades and colours in individual pots and sachets. We typically paint a layer horizontally, let it dry and then add another layer vertically (or the other way around). Most important to remember is to let the layers dry first! Otherwise the minerals could scoop up those from the previous layers and add a “hole” in the colour. Finishing result:

I enjoyed this experience thoroughly although am not sure if it is something I would do at home or regularly. A lot of preparation is needed for this and the amount of ingredients and colours of paints that go with it. Still, it’s fun doing something different, learning about different methods and enjoying the experience. And I love doing more Hello Kitty art!

How cuteee! I lovee Hello Kitty!
LikeLiked by 1 person
Thank you 😊 I’m a huge fan of Hello Kitty… welcome to the club! 🤗
LikeLiked by 1 person
Yeah! Haha 😂
LikeLiked by 1 person