

Since my first lesson with Procreate digital art app, I’ve been practicing what I’ve learnt and with great enthusiasm! Sharing with you one of my practice pieces, this one a simple one of a kawaii brown teddy bear. I was keen to learn more about masking and blending so had a little go here.
The Mask with Alpha Lock
Here I began with adjusting the “paper size” to 10×8 which is what Instagram crops it to from the more conventional A4. I then made the background forest green, and on layer one the Teddy Bear was drawn in and filled in with a brown airbrush. Alpha Lock was then used to seal Teddy while I added the shading so the other color would not bleed out of the outline. The blending tool was then used, and who would have thought that was the “hand” symbol on the menu! And now you may be asking, why those holes for the eyes already?
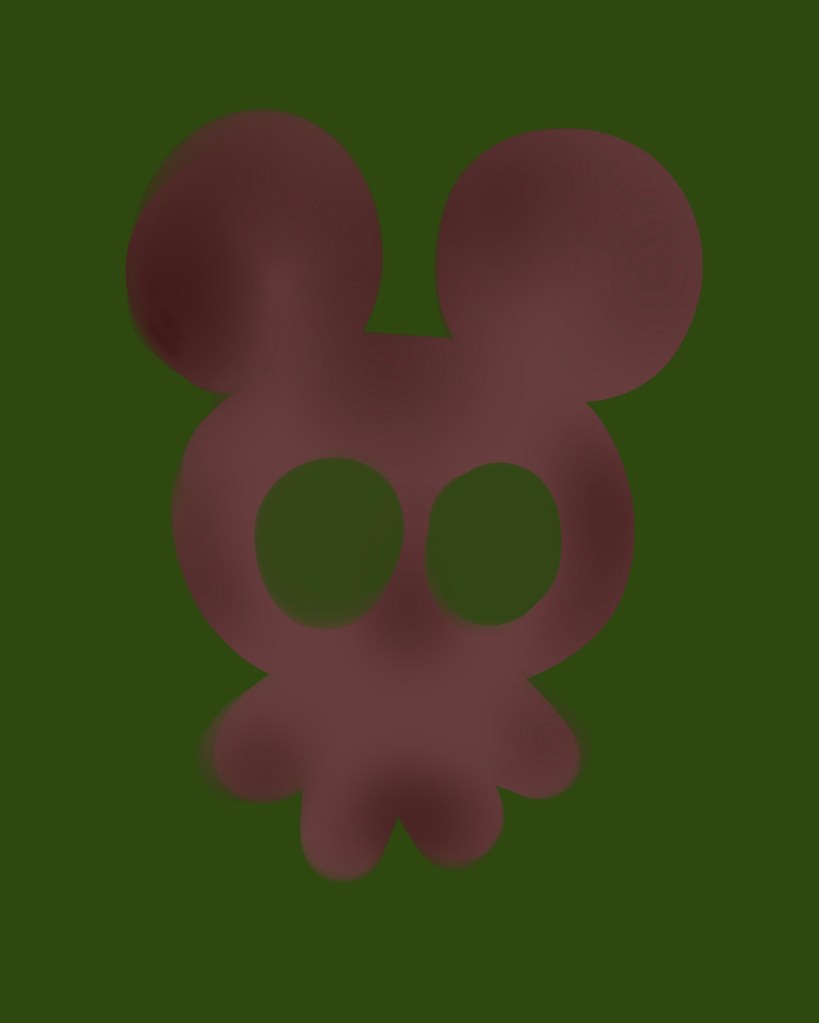
Baby Blue Eyes
The mask mode was used here which was a fun experiment. I wanted to draw the eyelashes for the eyes but I was afraid that the ink would go into the eyes when carefully tracing above them. Hence, I firstly created a mask by drawing in the “holes”. Then I added a new layer and incorporated the eyes. How did I do this? I made an eclipse with autofill in blue (also alpha lock for shading) and then duplicated it. Then another layer was added in which the whites of the eyes were done using the same method of duplication. Then I flipped the second one vertically to ensure symmetry!

The eyelashes were then drawn in with a script pen by going back to the layer above the Layer Mask. Wow that actually worked well! Not a trace into the eyes. Happy with the result, but the only challenge was correctly placing the eyes onto the holes and making sure they were a good fit. I’m sure there is an easier or more straight forward means to perfectly place the lashes but at this point, it was the only way I could think of. It’s good practice isn’t it?

Making the Painting Prettier
Once I was satisfied with the eyes, I went about adding the pink hearts using the autofill mode. I then thought the background could do with more. A layer was then added and shifted underneath Layer One. I scribbled in curvy streaks on the bottom and tapped in a Flare light with some light green. And here we are! Simple but the point was just practice.

A lot of fun learning more about Procreate! I figured I could learn a bit more and pick up some tricks of the trade with the lessons. And I enjoy practicing with it! The masking took time to master and grasp the concept of but now I have more confidence with it. Looking forward to churning out more kawaii digital artwork like this!

Fun work!
LikeLiked by 1 person
Yes! Can’t wait to do more digital painting… 💗
LikeLike