

FINALLY getting around to taking some on-line classes for the Procreate digital painting app today! It’s all been self-taught up to now whilst I’ve been dabbling with it and even creating some artwork already. Nevertheless I felt the need to master it more technically by picking up some useful tricks and tips. And enter Italian digital artist Maurizio de Angelis! I came across his course courses through Udemy an on-line education platform. Today was Lesson One on Procreate: Learn 15 Easy Painting Techniques.
Although I have a backlog of paintings to blog about, I thought I would take a break from that today and instead share with you my experience with my first lesson. It went rather well in general but I have to admit I did have to rewind portions of the lesson from time to time to follow. I’m not very technically astute, and trying to absorb and grasp the steps was a bit frustrating at times. Still at the end of the 16-minute Introductory Procreate Basics, I felt I did indeed learn quite a lot.
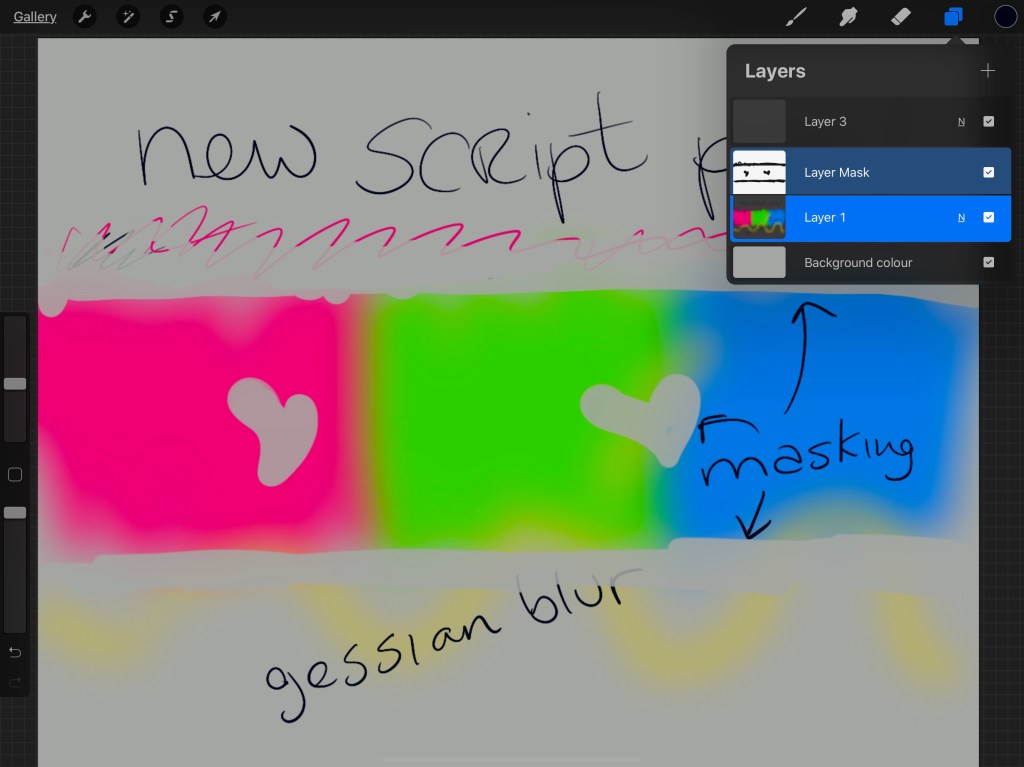
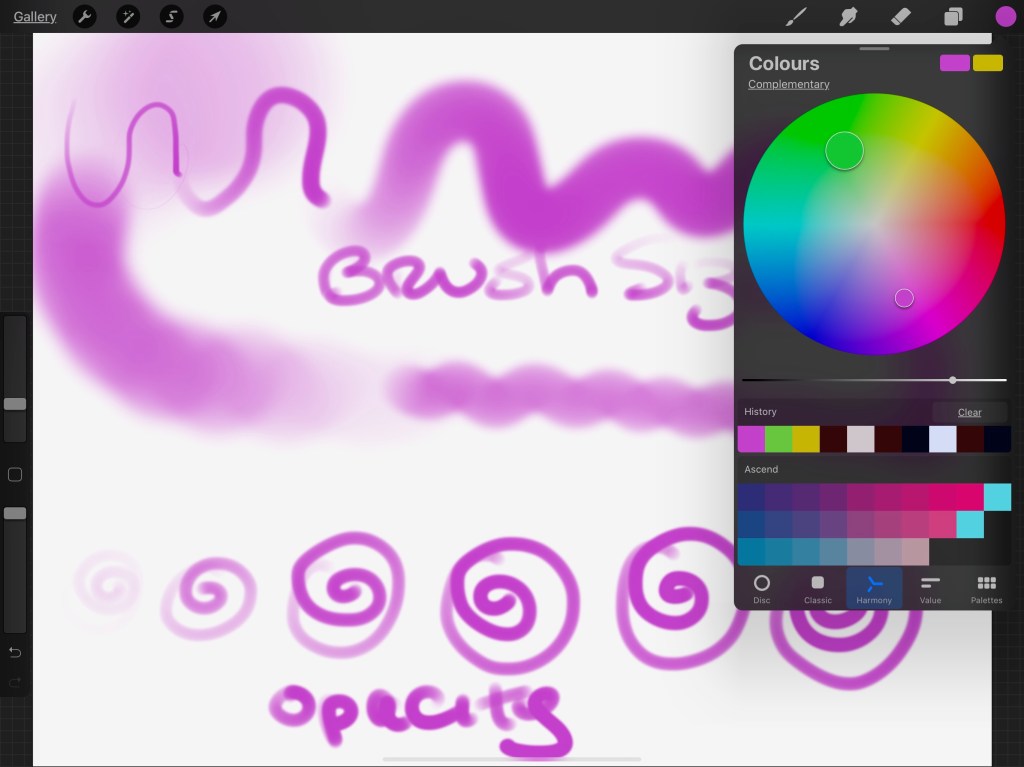
Today, I discovered how to adjust ‘paper’ size, find the built-in color wheel, master color blending, copying and pasting, merging layers, liquefying and masking and customize my own brushes. Adjusting paper size, for instance was handy since instagram tends to crop vertical images from 4:3 to 10:8 which is rather annoying. With copy and paste and moving images, I can now create even pairs of eyes and relocate my kawaii characters if she is a bit off. Most handy was the masking techniques although I still need practice with this.
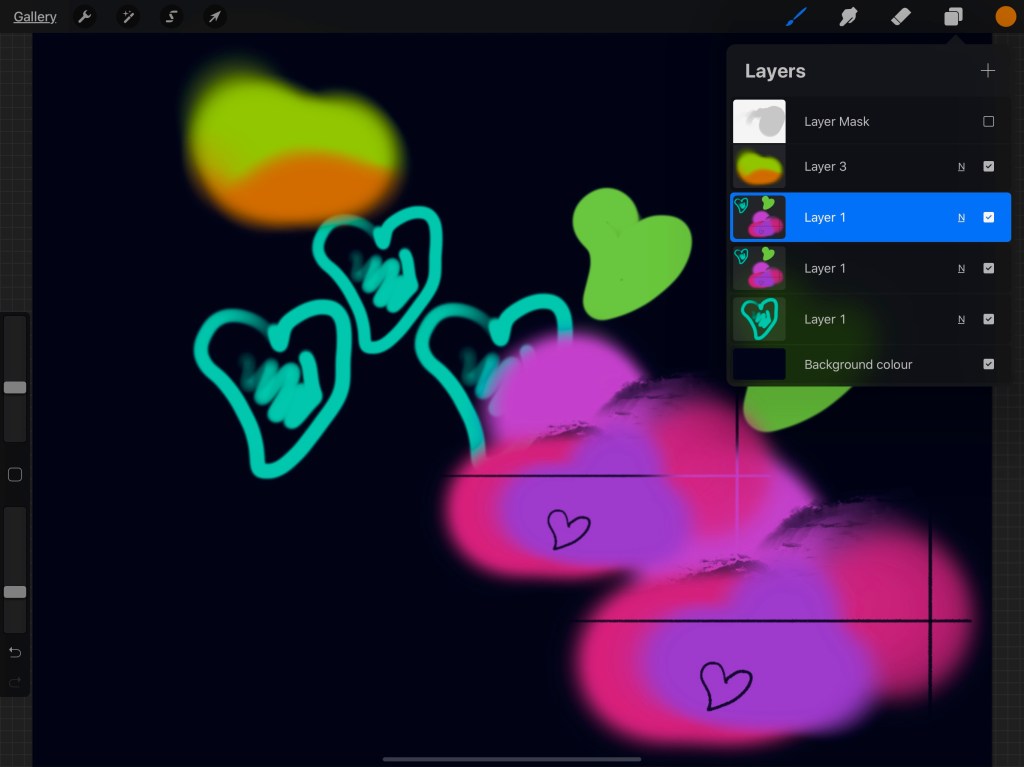
Of course with these lessons come practicing by myself. I left the lesson enthusiastically keen to practice more to understand the concepts and be able to handle the different techniques and menus till they become second nature. So I created two simple paintings afterwards using what I had learned today! Shortly, I will be sharing them here and telling you more. Meanwhile, I recommend this course for anyone wanting to develop their digital art skills!
