

During the Symposium-Workshop in Hungary, we had the opportunity to observe how multiple ceramic items are made! Our host, Neil Wolstenholme, kindly gave us an interesting demonstration about it. A lot of mass produced cups, bowls and crockery are produced like that which I was amazed to know. Most amazing though was watching how all my Hello Kitty ceramic figures I have been buying from Neil is produced! From start to finish…
The Molds
It first begins with a pre-made plaster mold of Hello Kitty of which Neil has a pair. It comes with two halves split laterally, front and back. Then a bottom lid with two holes. Quite heavy they are, almost like concrete blocks!

Pour In
The parts are then bound together tightly using apparently the rubber of tires to ensure tautness and being watertight. In effect, Hello Kitty is head down with the bottom lid now on top from which the liquid ceramic is carefully poured through the holes using a lipped jug. It is important to fill it all the way to maintain the full shape of Hello Kitty. As such, we wait whilst the liquid settles slowly to the bottom and repeat pouring until we’re really certain it is at the optimum.
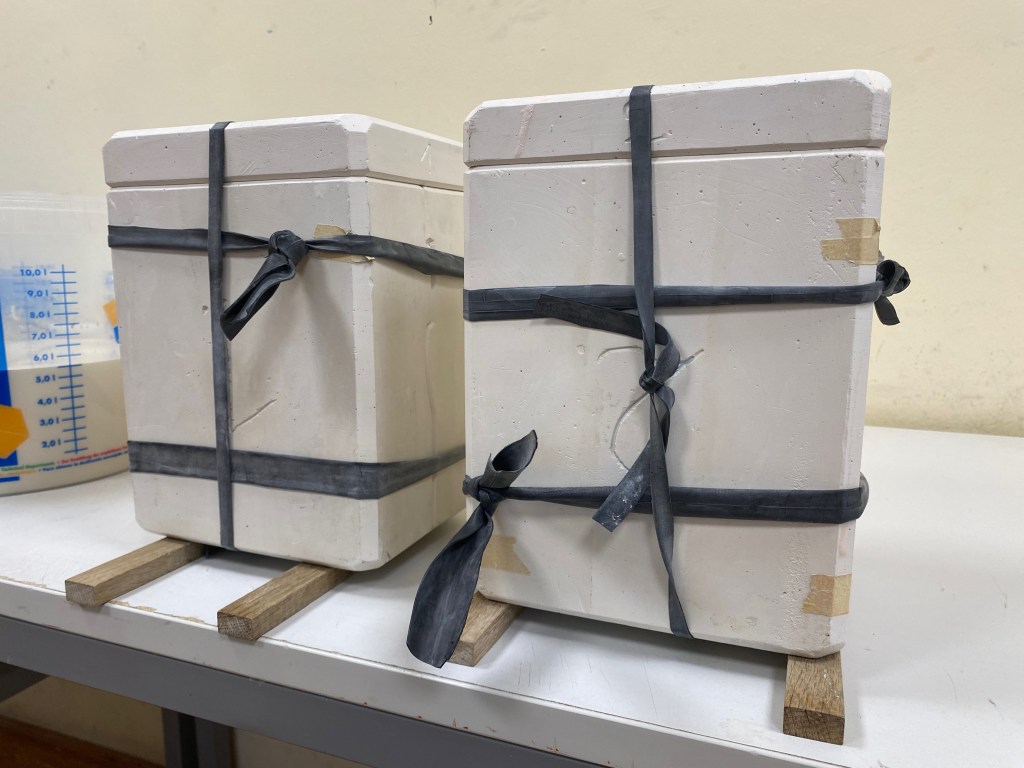
Pour Out
Once we are certain the liquid is completely and perfectly filled to the brim without any excess flow, this mold is then turned upside down again and the liquid poured out into an empty bucket to be recycled for future use. Reason why it is important to have it perfectly filled up is that as the resulting Hello Kitty figure is going to be hollow, the liquid must be evenly distributed on the edges so the thickness of the figure surface is uniform on all areas.

Et Voilà!
Once all poured out, the molds are then put back on the wooden stilts whilst we wait for a few hours before dismantling. I can’t remember how long we waited for, but according to the phone photos, it was almost 14:00 when we left the molds on their stilts. The bottom photo was then taken around 16:00, hence two hours! To dismantle, the mold was first laid down flat so Hello Kitty is lying down face up (there are handwritten arrows indicating the correct sides), then removing the lid and carefully uncovering the top half. The half was quite heavy and as I didn’t want to drop it, Neil did it for me. And look… how kawaii is that!

And what an inspiring session that was! Who would have guessed how this was all made? And what happens next? I believe the clay is then left overnight to dry further before placing in the kiln. Now if only I could make my own molds and own a kiln what a field day I would have! And next, we are going to be painting some of the Hello Kitty’s…so watch this space as I write more about that!
Please click here to find out more about Neil Wolstenholme and his amazing work!

3 Comments